
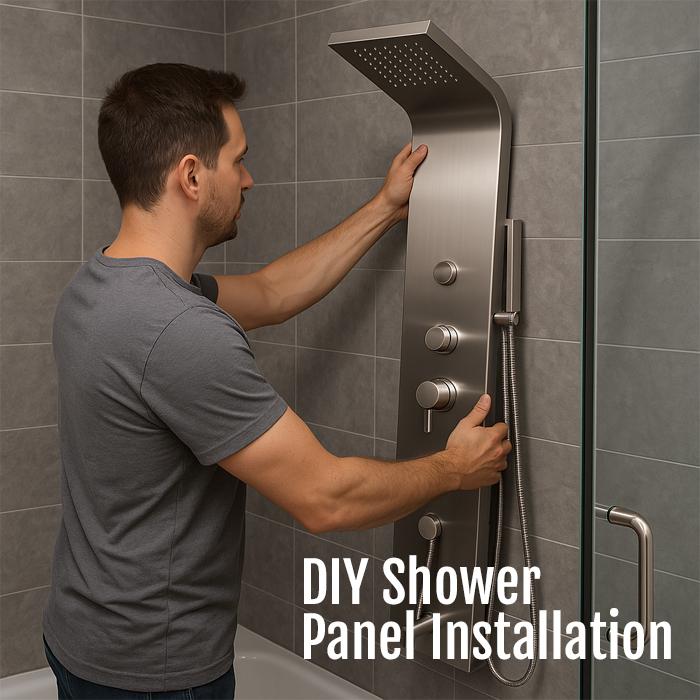
Installing a full-body shower panel system might seem intimidating—but with the right tips and tools, most homeowners can tackle it themselves and save hundreds. Whether you’re replacing an old fixture or upgrading your whole shower setup, here’s how to get it done efficiently without cutting corners.
✅ Pre-Installation Checklist
Before you start, make sure you’ve got everything ready. Missing a small part can turn a 1-hour job into a weekend project.
Tools & Materials:
- Adjustable wrench
- Drill + masonry/tile bits
- Plumber’s tape
- Silicone caulk
- Level
- Measuring tape
- Wall anchors or screws (usually included)
- Bucket or towel (for water drainage)
Pro Tip: Check your wall material—tile, fiberglass, or drywall—before drilling. Use the right anchors for your surface.
🔧 Step-by-Step Installation Tutorial
Step 1: Turn Off Water Supply
Shut off the water to the shower at the local valve or main house line. Open the valve to drain any pressure.
Step 2: Remove the Old Showerhead
Unscrew the existing head or fixture. Clean off old tape or gunk from the pipe threads.
Step 3: Attach the Mounting Bracket
Use a level to mark your bracket placement. Drill pilot holes, insert wall anchors if needed, and screw the bracket to the wall.
Step 4: Connect the Water Line
Wrap plumber’s tape around the existing shower pipe threads. Attach the water inlet hose from the panel to the pipe. Tighten gently.
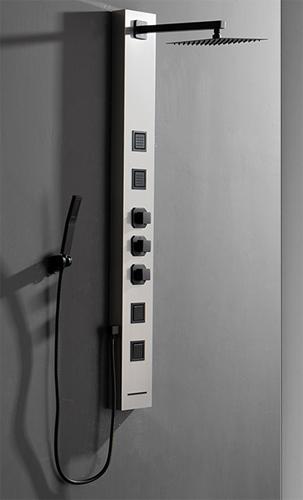
Step 5: Secure the Panel
Hang or mount the shower panel onto the installed bracket. Some models use hooks; others screw directly into the bracket.
Step 6: Seal the Edges
Apply a bead of silicone around the base to prevent water from seeping behind the unit.
Step 7: Test the System
Turn on the water and run through each feature—rainfall, jets, handheld. Check for leaks or drips.
🛠️ DIY-Friendly Models vs Complex Installs
| Feature | DIY-Friendly Panel | High-End Panel |
|---|---|---|
| Surface-Mount Design | ✅ Yes | ❌ Often No |
| Needs Wall Plumbing Mods | ❌ Rarely | ✅ Usually |
| Ideal for Small Spaces | ✅ Yes | ❌ Not Always |
| Average Cost | 💲150–300 | 💲400–900+ |
| Easy to Remove/Replace | ✅ Yes | ❌ No |
⚖️ Key Tips To Make The Job Easier
- Stick with surface-mount panels to avoid tearing into tile.
- Use removable adhesive brackets if you rent—no drilling required.
- Pick a panel with separate spray controls, so you don’t need high water pressure.
- Measure twice, drill once—especially when working with tile.
- Use clear silicone, not white—it hides better behind chrome or black panels.
🔍 Reputable Resources & Support
Here are a few trusted sources that offer quality tutorials and affordable panels:
- Plumberparts UK (YouTube) – Practical install videos: youtube.com/@plumberparts
- Home Depot DIY Guides – homedepot.com/c/diy_projects_and_ideas
- Build.com Shower Panels – Product comparisons & customer support: build.com
- Rovogo & Blue Ocean Brands – Budget-friendly options on Amazon
Want a shortcut? Look for brands that include a full install kit—screws, tape, anchors, even gloves sometimes.
Final Thoughts
Installing a shower panel system is one of the most satisfying upgrades you can do on your own—no need to hire a plumber or demo your bathroom. With the right prep, a good-quality panel, and a little patience, you’ll be stepping into a spa-level shower by the end of the day.
